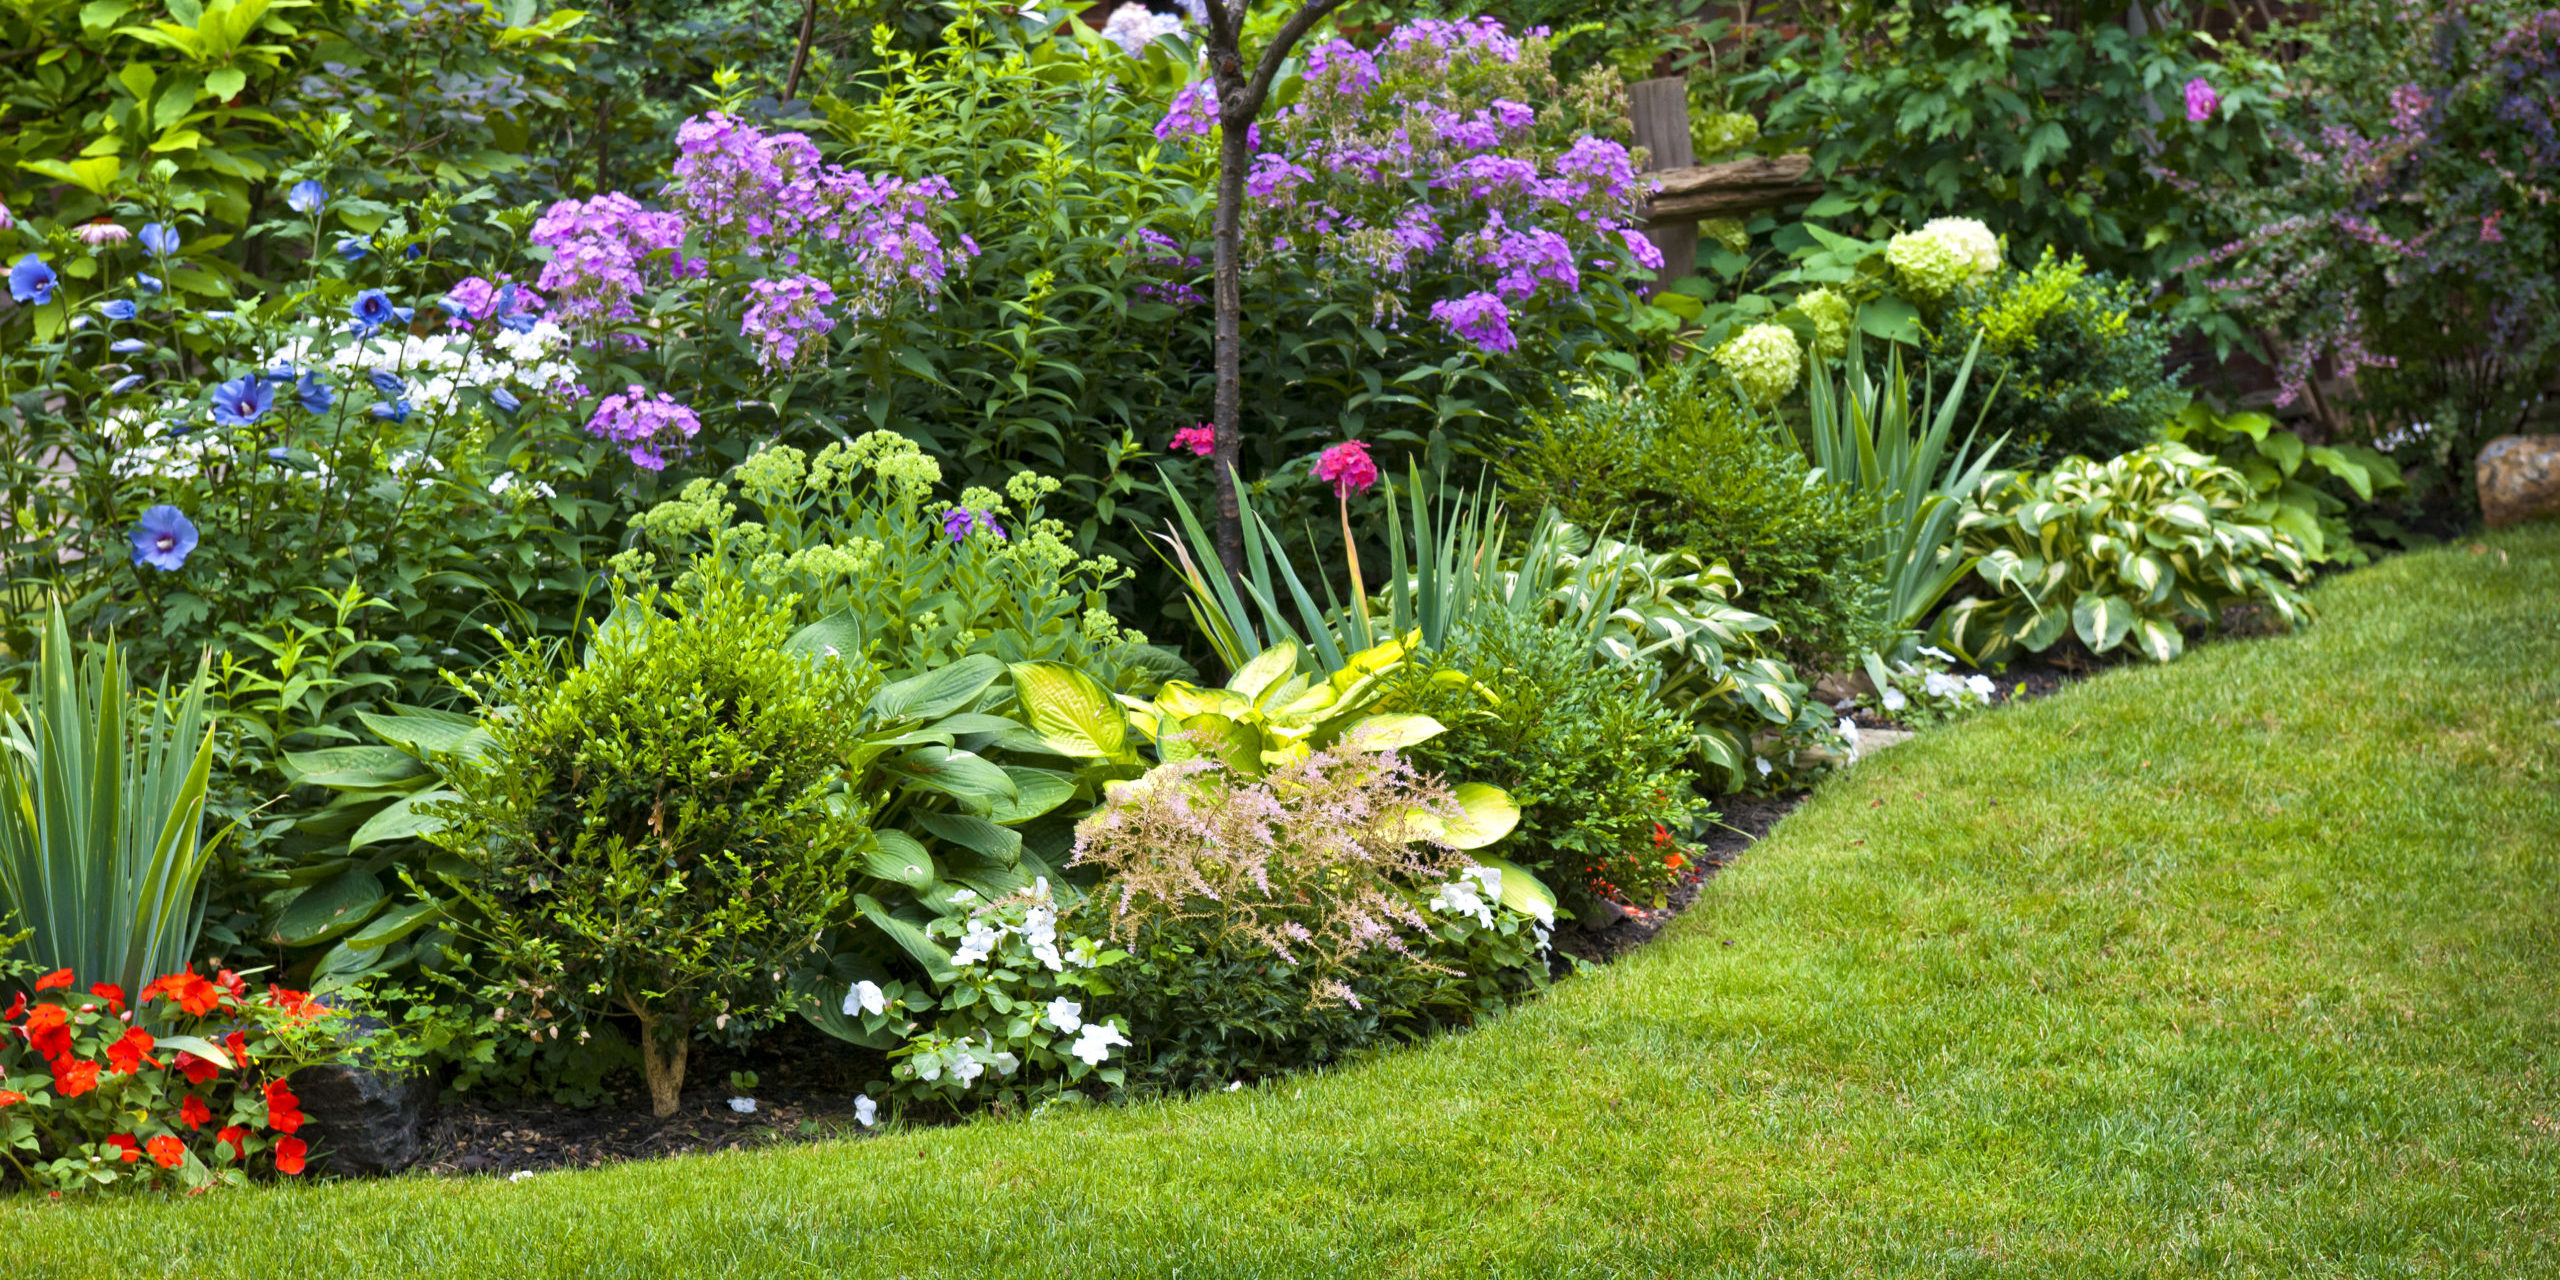
Have you thought about creating a rain garden? It’s a great way to beautify your home and make good use of rainwater runoff. Below are 10 steps that you can take to create a rain garden that you can be proud.
1. Find a Good location
A good thing to remember is that you should place your rain garden a minimum of 10 feet from your home. This is going to help with preventing flooding in the house. Don’t put it over your septic field. It’s a good idea to choose a spot that’s naturally low in the yard or put your garden where the sump pump’s outlet or your downspouts are able to direct the rainwater to the garden. It’s also good to choose an area that has either partial or full sun.
2. Measure Your Drainage Area
If you’re building your rain garden in one of your yard’s low spots, you don’t have to measure your drainage area. Just make sure the area’s regularly receiving water when it rains.
If you’re capturing the water from a hard surface like your roof, you’ll have to measure the precise area of that drainage of the surface and then multiply that by that number that is associated with your type of soil. When you have soil that is sandy, it’s 20%, if it’s loam, it’s 30 to 35%, and when you have clay, it’s 45 to 60%. The numbers are a bit inflated but they’ll make sure your garden will hold the maximum amount of water it can.
3. Create Your Design
Whether you’re making a small or large garden, you’ll use the same principles. When you plan your garden out on a piece of paper, you’ll have no trouble creating the most beautiful garden.
4. Choose the Plants
Plants that are native to your area are going to be best for your rain garden since they’re best adapted to your climate. You want to select grasses and flowers that are going to grow both in dry and wet areas since the garden is going to fill temporarily with water sometimes.
5. Lay Out Your Garden
Lay out your garden’s boundary and shape based on the design. Before you begin to dig, contact the local organization that finds underground utilities.
6. Dig Your Garden
Remove your turf gas and then dig the garden about 4 to 8 inches in depth. Use your soil to create a berm that surrounds your garden’s edges if need be.
7. Prepare Your Soil
Amend your soil using 2 to 3 inches of compost and then mix it in well.
8. Plant Your Grasses and Flowers
Follow your design that you have created and put your plants in their approximate positions. Then step back, looking at your design and garden. There should be about a foot in between the plants. After you’re satisfied with the way that it looks, start planting your grasses and flowers with your hand towel.
9. Mulch Your Garden
Using fibrous, shredded, coarse wood chips which won’t blow or float away, apply your mulch approximately 2 to 3 inches deep. This is going to help keep your moisture in and any weeds out. Steer clear of cypress mulch since it’s made from chopping down old-growth, rare cypress trees in the wetlands.
10. Water and then Arrange Your Downspouts
Once your garden is planted, water it 3 to 4 times per week for 14 days if it’s not raining. Do this until your garden looks like it’s growing all on its own. Maintenance and good watering techniques will make sure that your rain garden flourishes.
Rain gardens are a great way to give yourself some beauty outside while using smart watering techniques. Use these steps above to create your own rain garden and you’ll see what a difference it makes in your landscape. It will be beautiful and it will make you smile.
Have more questions?
If you have more questions about how we can satisfy your gardening needs, feel free to check out our website, or give us a call at 941-875-3559. We take pride in our gardening expertise, and our goal is to make your lawn look the best it can be, so don’t hesitate to call for our services today!


Rain gardens are both gorgeous and eco-friendly! What’s a good native plant to start with?
I’m thankful for this refreshing take on sustainable beauty. How do you maintain a rain garden during a drought season?